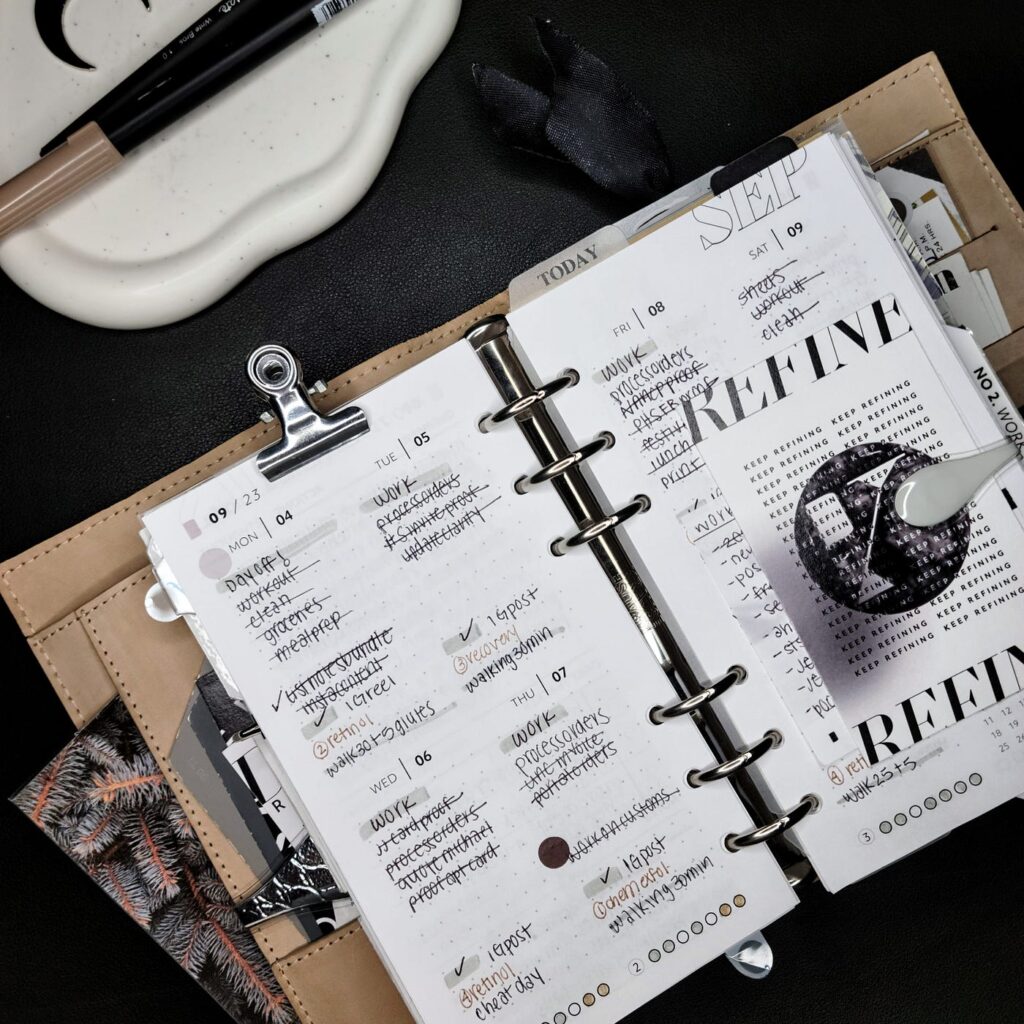
I am going to share some tips for printing planner inserts in an efficient way with your home, desktop printer.
Keep in mind: the tips and instructions I am sharing are based on using and printing from Adobe Acrobat. If you do not have this software for viewing and printing PDF files, you can download it for free here.

How to print planner inserts more efficiently:
These tips are for inserts that can be printed two pages per sheet on standard letter size paper (8.5in x 11in). For example, the utility bundle from my shop.
For printable inserts that are meant to print double sided, can print 2 per page, but that you want multiple sheets of, here are instructions:
- Under the “Pages to Print” section, click pages and type in the page number that you want printed 2 times with a comma separating them. Usually you will print the front side first. Example, if you want to print page 1, then you will type in “1,1”.
2. You can choose the number of copies that you want to print at the top.
3. Under “Page Sizing & Handling” choose Multiple. Make sure you select 2 pages per sheet and horizontal orientation. For page order, make sure horizontal is selected.

4. Print these pages, then load them back into the printer.
5. Under the “Pages to Print” section, click pages and type in the page number that you want printed 2 times with a comma separating them. Usually you will be printing the back side now. Example, if you want to print page 2, then you will type in “2,2”.
6. Under “Page Sizing & Handling” choose Multiple. Make sure you select 2 pages per sheet and horizontal orientation. For page order, make sure horizontal is selected.

7. Now finish printing and trim your inserts.
How to print dated planner inserts and keeping them in the correct order:
These instructions are for dated monthly, dated weekly, or dated daily printable inserts that are smaller than A5 and can be printed two pages per sheet on standard letter size paper (8.5in x 11in). For example, the dated vertical week on two page insert in personal size from my shop.
You may have noticed when trying to print dated inserts, 2 pages per sheet, and double-sided, that they get out of order. These instructions walk you through how to fix that by using the settings in the print driver.
The image below is what your print driver will look like when you open the PDF in adobe acrobat, then select file > print.

- Under the “Pages to Print” section, select more options and odd pages only.
2. Under “Page Sizing & Handling” choose Multiple. Make sure you select 2 pages per sheet and horizontal orientation. For page order, make sure horizontal is selected.

3. Print the odd pages and load them back into the printer.
4. Under “Page Sizing & Handling” choose Multiple. Make sure you select 2 pages per sheet and horizontal orientation. For page order, make sure horizontal is selected.This time, under the “Pages to Print” section, select more options and even pages only.
5. Under “Page Sizing & Handling” choose Multiple. Make sure you select 2 pages per sheet and horizontal orientation. This time, for page order, make sure horizontal reverse is selected.

6. Print, trim and punch your inserts.
Tips: To be sure you are loading your pages back into the printer correctly after the odd pages, I would suggest testing this on the first 8 pages of the file. That way you don’t waste any extra paper.
Tip: Use the preview screen in the print driver to ensure you are setting up your file properly for printing!
STAY IN TOUCH!
Follow me on instagram for planning tips and inspiration. Be sure you are signed up for the newsletter to receive tips, inspiration, freebies, and more straight to your inbox!

Leave a Reply to admin Cancel reply